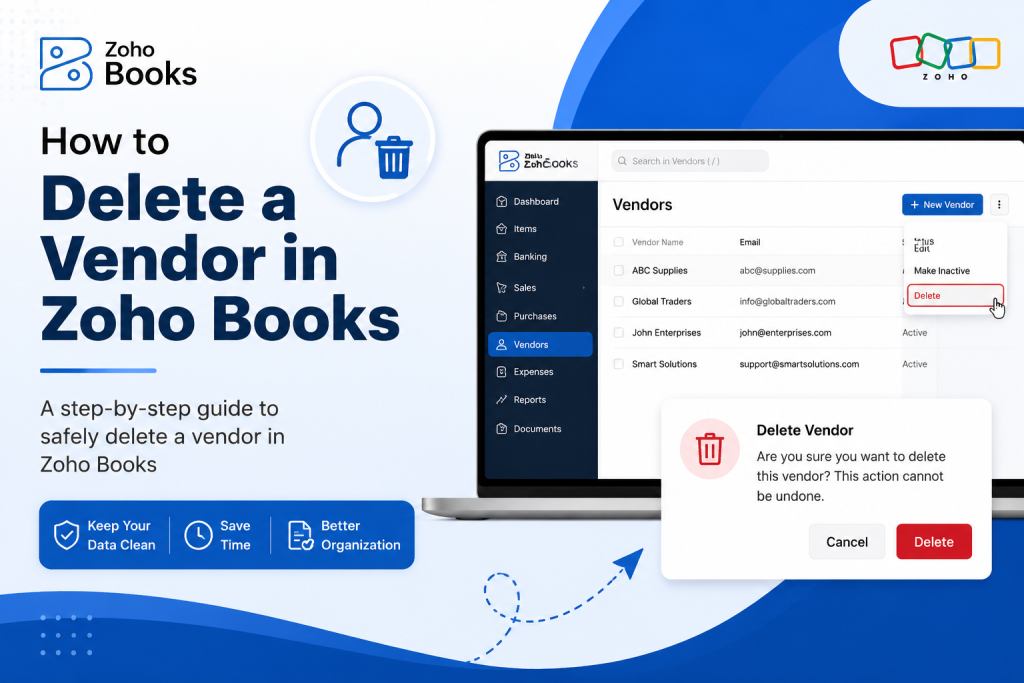
Managing vendors in Zoho Books is crucial for keeping your accounts clean and up-to-date. Sometimes, you may need to remove a vendor who is no longer active or used in your business. This tutorial will take you through every step, including common pitfalls and alternatives.
Step 1: Log in to Zoho Books
- Open your web browser and navigate to the Zoho Books login page.
- Enter your email/username and password.
- Click Sign In to access your dashboard.
Tip: Make sure you have admin privileges or proper permissions. Only users with the correct access can delete vendors.
Step 2: Navigate to the Vendors Section
- On the left-hand menu, click Expenses.
- Under Expenses, select Vendors.
This will display a list of all vendors registered in your Zoho Books account.
Tip: Use the search bar at the top to quickly locate a vendor by name, email, or company.
Step 3: Locate the Vendor You Want to Delete
- Scroll through the vendor list or type the vendor name in the search field.
- Click on the vendor’s name to open their detailed profile page.
What you’ll see:
- Vendor contact info
- Billing history
- Associated bills, payments, and purchase orders
Step 4: Check for Active Transactions
Before deleting a vendor, ensure there are no open transactions. Zoho Books will not allow deletion if the vendor has:
- Unpaid bills
- Pending purchase orders
- Linked payments or credit notes
How to check:
- Look for any transactions under Bills, Payments, or Purchase Orders tabs in the vendor profile.
- If there are open items, either mark them as paid/closed or delete the transactions (if appropriate).
Tip: If you want to keep historical transactions but remove the vendor from active use, consider deactivating the vendor instead of deleting.
Step 5: Delete the Vendor
Once all transactions are cleared:
- On the vendor profile page, look for the More / Actions dropdown (usually at the top-right corner).
- Select Delete Vendor from the menu.
- You will see a confirmation prompt. Click Confirm.
What happens:
- The vendor is permanently removed from your vendor list.
- Any links to old transactions (if not deleted) may show as “Unknown Vendor.”
Step 6: Alternative – Deactivate a Vendor
If you want to retain transaction history:
- Open the vendor profile.
- Click More / Actions → Deactivate Vendor.
- The vendor will no longer appear in active lists, but historical data remains intact for reports and audits.
Why this is useful: You keep your financial history intact without cluttering active vendor lists.
Step 7: Verify the Deletion
- Go back to Expenses → Vendors.
- Search for the deleted vendor’s name.
- Confirm they no longer appear in the active list.
Tip: If you accidentally delete a vendor, you can recreate them manually, but previous links to transactions may need adjustment.
Common Errors and Fixes
| Error | Cause | Solution |
|---|---|---|
| “Cannot delete vendor” | Vendor has open transactions | Close or delete associated bills/payments |
| Vendor disappears but transactions remain | Deletion removes the vendor profile | Consider deactivating instead to preserve history |
| Vendor reappears | Vendor is linked to recurring transactions | Remove recurring links before deletion |
Summary
Deleting a vendor in Zoho Books is straightforward if you:
- Ensure you have proper permissions.
- Clear any active transactions.
- Use the Delete Vendor option under More / Actions.
If maintaining history is important, deactivating is a safer alternative.
Pro Tip: Regularly review your vendor list to remove inactive vendors. This keeps your Zoho Books organized and improves reporting accuracy.
This tutorial ensures users of any skill level can follow along, understand why each step is needed, and avoid common mistakes.